Quick Answer
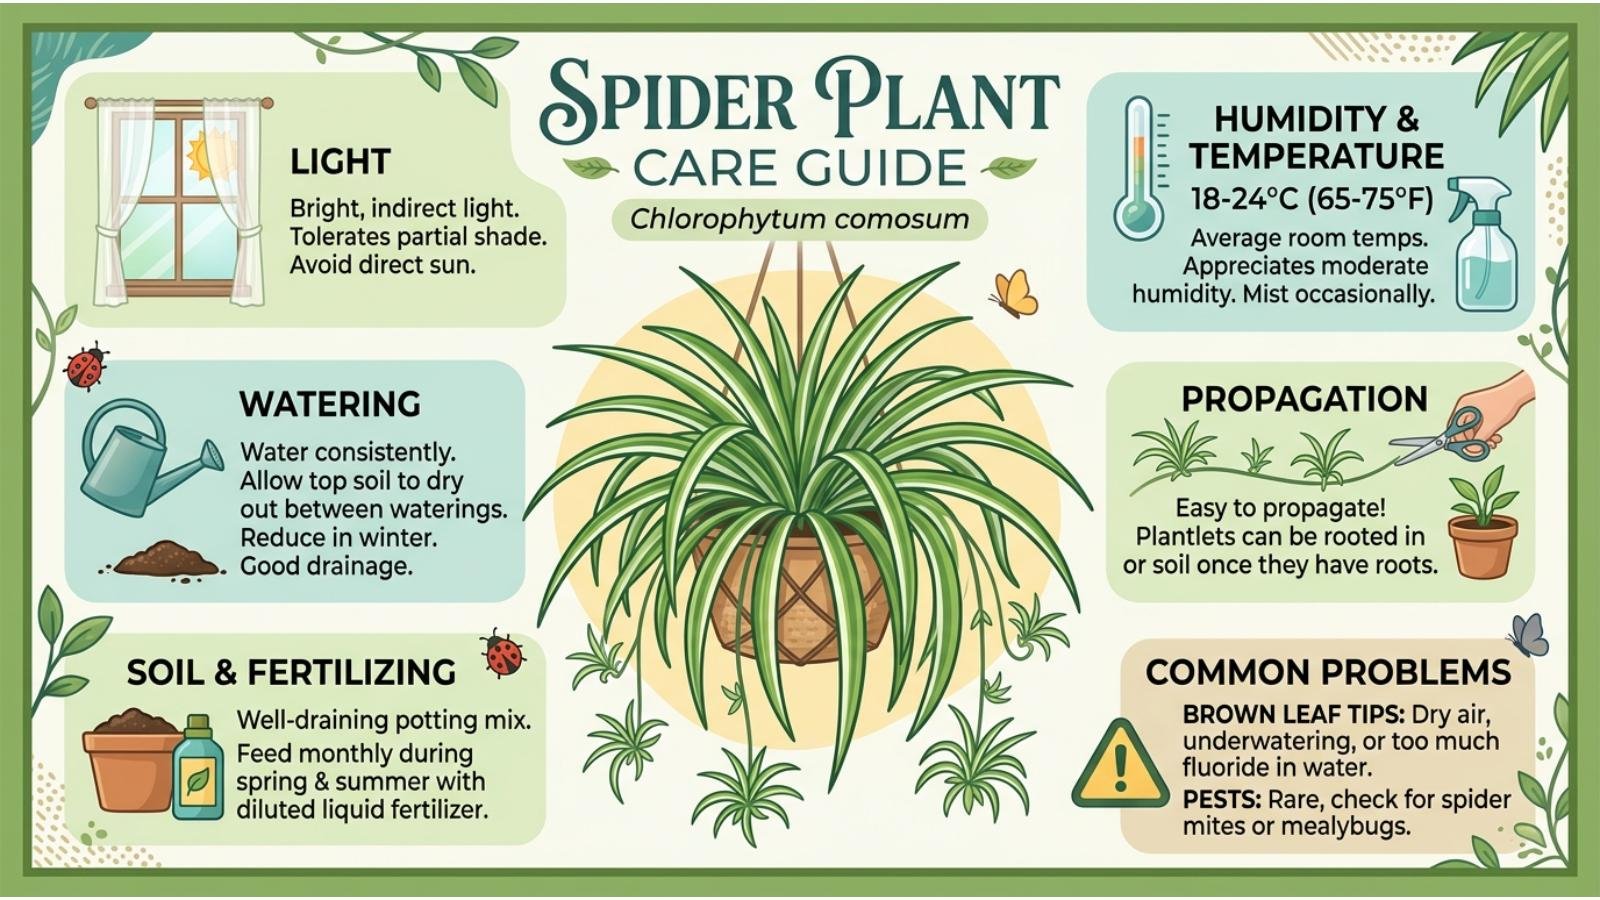
Spider plant care is simple when you get three basics right: bright indirect light, well-draining soil, and watering only when the surface of the soil has started to dry. Keep Chlorophytum comosum away from harsh direct sun, never leave its roots sitting in water, and repot when the roots become crowded. With these conditions, spider plants can grow vigorously and produce the hanging plantlets they are famous for.
Introduction
Spider plants are popular for a good reason: they tolerate a surprisingly wide range of indoor conditions while producing long, arching leaves and baby plants that make them especially rewarding to grow. But “easy-care” does not mean “impossible to damage.” The most common problems—brown leaf tips, yellowing foliage, weak growth, and root trouble—usually come from a mismatch between light, watering, drainage, or the plant’s growing season.
The good news is that you rarely need an elaborate routine to keep a spider plant looking its best. Once you learn how to read the leaves and soil instead of watering on a rigid calendar, caring for one becomes much easier. This guide explains exactly what your plant needs, how to fix common problems, and how to encourage healthy new growth and spider plant babies.
What Is a Spider Plant?
The classic spider plant is Chlorophytum comosum, an evergreen perennial in the Asparagaceae family. It is commonly grown indoors for its narrow, arching foliage and long stems that can produce small white flowers followed by plantlets, often called “spider babies.”
Several cultivars are available, including:
- ‘Variegatum’ – green leaves with white variegation.
- ‘Vittatum’ – traditionally recognized for its central creamy-white stripe.
- ‘Bonnie’ – a more compact, curled-leaf form.
- ‘Ocean’ – a compact cultivar with green leaves edged in cream.
- All-green forms – naturally lack the white striping seen in many common houseplants.
Spider plants naturally form clumps and can become quite full over time. Their trailing growth makes them particularly attractive in hanging baskets or on shelves where the foliage and plantlets can cascade downward.
Image Suggestion: A realistic close-up showing a mature variegated spider plant with long arching leaves and several baby plantlets.
The Ideal Conditions for Spider Plant Care
A healthy spider plant does not need a greenhouse-like environment. It needs a few consistent basics.
| Care factor | Ideal approach | What to avoid |
|---|---|---|
| Light | Bright, indirect light | Strong hot direct sun |
| Water | Water when the upper soil begins drying | Constantly wet soil |
| Soil | Loose, well-draining potting mix | Heavy, poorly draining soil |
| Pot | Container with drainage holes | Sealed decorative pots |
| Humidity | Average indoor humidity is usually adequate | Extremely dry conditions |
| Feeding | Light feeding during active growth when needed | Excessive fertilizer |
| Repotting | About every 2–3 years or when crowded | Leaving severely root-bound plants indefinitely |
The key is balance. Spider plants are adaptable, but their roots still need oxygen, their foliage still needs appropriate light, and their containers still need drainage.
Spider Plant Light Requirements: Bright but Indirect Works Best
Light is one of the easiest parts of spider plant care to get wrong.
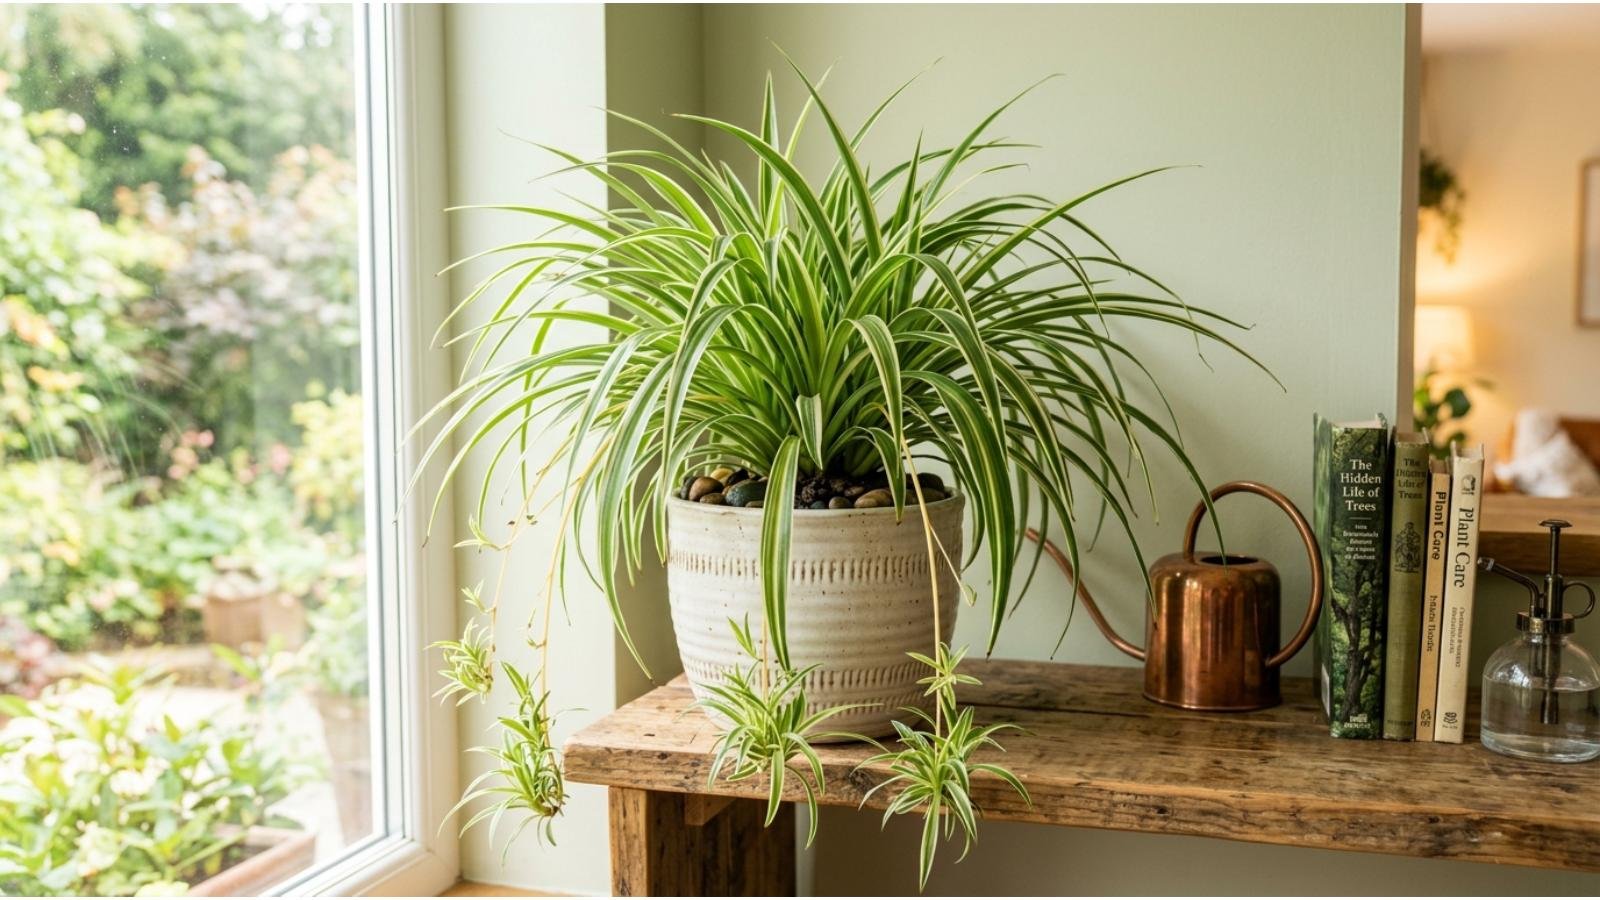
Spider plants generally perform best in bright, indirect or filtered light. They can tolerate lower-light locations, but growth may become slower and variegated leaves can lose some of their contrast. On the other hand, intense direct sunlight—particularly strong afternoon sun through glass—can scorch or discolor the foliage.
Where should you put a spider plant?
Good locations include:
- A bright room several feet from a sunny window.
- Near an east-facing window with gentle morning light.
- Near a bright north-facing window.
- Behind a sheer curtain near a stronger window.
- In a bright office away from intense midday sun.
If your plant is becoming unusually pale, producing weak growth, or losing its attractive variegation, insufficient light may be contributing.
If leaves develop bleached, crispy, or scorched-looking areas after being placed in strong sunlight, move the plant farther from the window or filter the light.
A practical light test
Rather than judging light by how bright a room feels to you, observe the plant over several weeks.
Too little light: slow growth, weaker variegation, fewer plantlets.
Too much intense light: faded, yellowed, or brown/scorched foliage.
Good light: steady new growth, firm leaves, and healthy coloration.
Image Suggestion: A simple diagram showing ideal bright indirect light, low light, and harsh direct sunlight for a spider plant.
How Often Should You Water a Spider Plant?
Watering is probably the biggest source of confusion for new spider-plant owners.
There is no universally correct schedule such as “every seven days.” Indoor temperature, light, pot size, soil composition, season, and airflow all affect how quickly the soil dries.
A better approach is to check the soil before watering.
The RHS recommends keeping spider plants from sitting in soggy compost and notes that they generally need somewhat less water during winter when growth slows.
A simple watering routine
- Check the surface of the potting mix.
- Feel the upper layer with your finger.
- If the soil has started to dry, assess the plant and pot before watering.
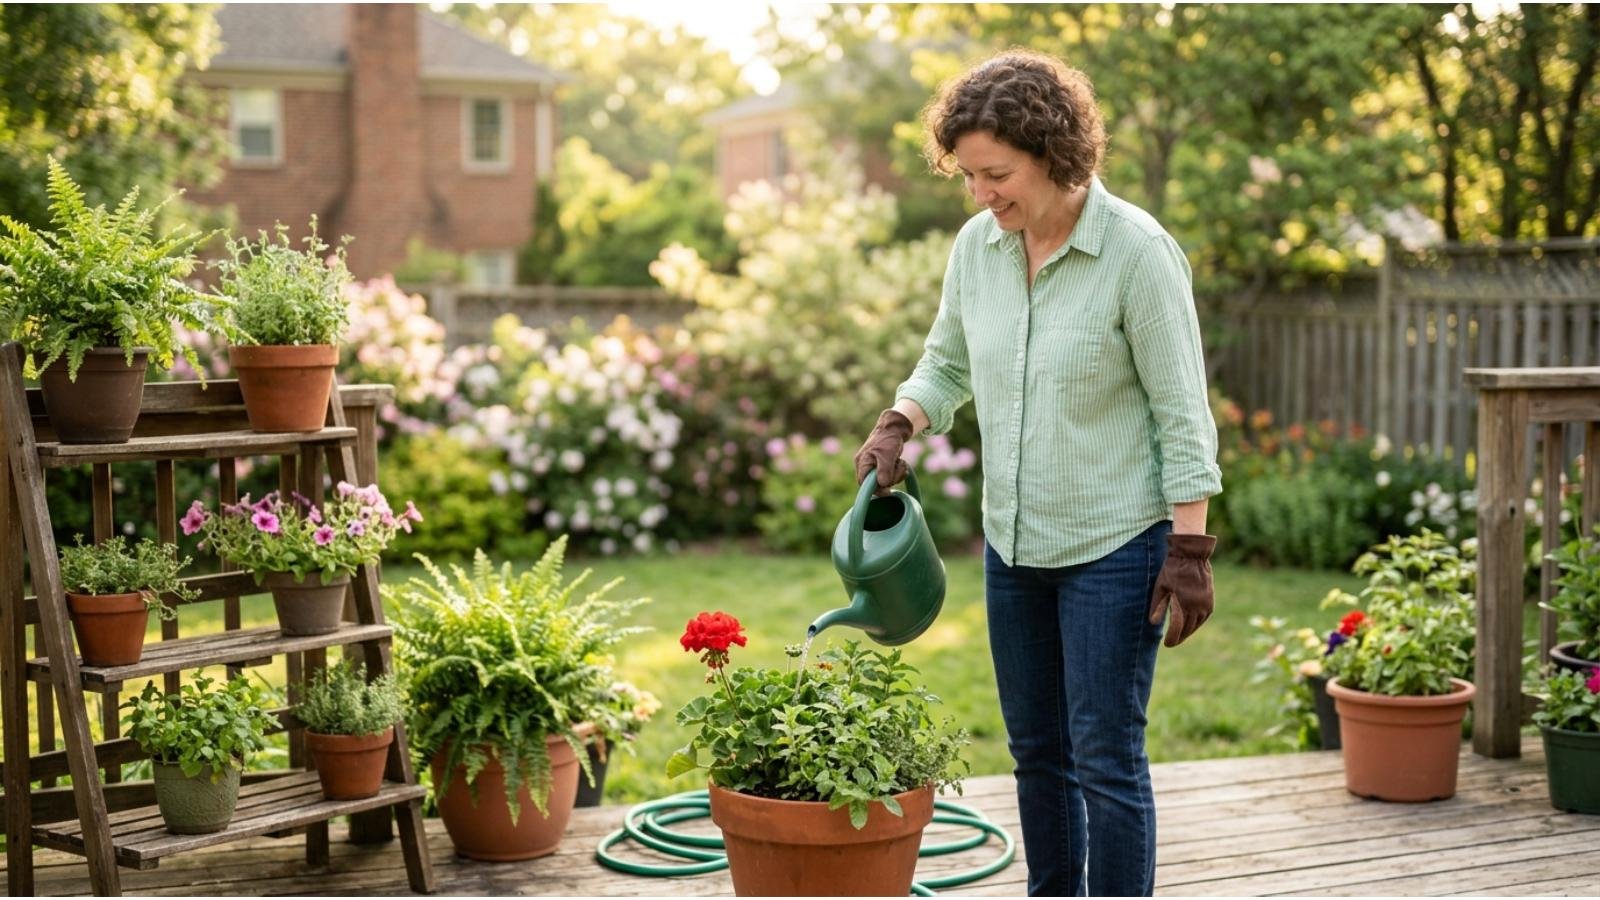
- Water thoroughly rather than giving only a tiny splash.
- Allow excess water to drain away.
- Empty water collected in the saucer or outer container.
The goal is moist but well-drained soil—not permanently wet soil.
Why overwatering causes trouble
When soil stays saturated for long periods, roots have less access to oxygen. Continued moisture can eventually contribute to root problems.
This is why watering more frequently is not automatically better.
What about underwatering?
Spider plants are fairly forgiving, and they can recover from occasional dryness. Pale or dull-looking foliage can sometimes indicate that the plant needs water.
The important distinction is between an occasional missed watering and repeatedly allowing the plant to become severely dehydrated.
Expert tip: Don’t water a spider plant simply because it is “watering day.” Check the soil first.
Choosing the Best Soil and Pot
Spider plants appreciate soil that holds enough moisture for the roots without remaining saturated.
A quality well-draining indoor potting mix is a sensible starting point. The RHS lists spider plants as growing in moist but well-drained conditions and recommends peat-free multipurpose compost for repotting.
What makes a good container?
The pot should have drainage holes.
This matters more than whether the container is ceramic, plastic, terracotta, or decorative.
A beautiful pot without drainage can become a problem because excess water has nowhere to escape.
If you use a decorative cachepot without drainage, keep the actual plant in a nursery pot with drainage holes and remove it when watering so excess water can escape.
Should spider plants be root-bound?
Spider plants can tolerate crowded roots, but eventually a severely pot-bound plant may slow down. The RHS recommends repotting every few years and notes that crowded roots can reduce vigor.
You do not need to move the plant into a dramatically larger container.
A modest increase in pot size is generally more practical than placing a small root system into a huge pot full of slowly drying soil.
Image Suggestion: Side-by-side illustration of a healthy spider plant pot with drainage holes versus an oversized pot with waterlogged soil.
Why Are My Spider Plant Leaves Turning Brown?
Brown leaf tips are one of the most frequently reported spider plant problems.
The frustrating part is that brown tips do not point to one single cause.
Possible contributors include:
- Irregular watering.
- Very dry air.
- Excessive direct sunlight.
- Water-quality issues.
- Root stress.
- Fertilizer-related stress.
- Other environmental changes.
The RHS specifically notes that tap-water fluoride can contribute to brown tips and that underwatering, overwatering, dry air, and excessive sunlight can also play a role.
Should you cut off brown tips?
Yes, if you want to improve the plant’s appearance.
Use clean scissors and trim the damaged portion, following the natural shape of the leaf. Do not cut healthy green tissue unnecessarily.
Remember that trimming a brown tip does not fix the underlying problem. If new tips keep turning brown, investigate the plant’s environment rather than repeatedly cutting leaves.
A useful troubleshooting sequence
If brown tips are appearing, ask:
1. Is the plant sitting in direct hot sunlight?
If yes, move it to brighter filtered or indirect light.
2. Is the soil constantly wet?
If yes, reassess drainage and watering frequency.
3. Is the plant repeatedly becoming bone dry?
If yes, establish a more consistent soil-checking routine.
4. Has the plant been exposed to very dry indoor air?
If yes, consider whether its location is unusually dry.
5. Is your water quality a possible factor?
If brown tips persist despite otherwise good care, water quality may be worth considering. The RHS specifically mentions fluoride in tap water as one possible contributor.
Yellow Spider Plant Leaves: What Are They Telling You?
Yellow leaves can have several explanations, so avoid immediately assuming the plant needs fertilizer.
The RHS notes that yellowing is often associated with insufficient light rather than nutrient deficiency.
Start with the basics.
If the leaves are yellow and the soil stays wet
Look closely at watering and drainage.
The plant may be receiving water faster than the potting mix can dry.
If the leaves are yellow and growth is weak
Evaluate the light level.
A darker room may keep the plant alive but produce weaker growth and less attractive variegation.
If only an occasional older leaf turns yellow
An isolated older leaf is not necessarily a crisis. Plants naturally replace older foliage.
Don’t fertilize automatically
One of the most common beginner mistakes is treating every yellow leaf as a fertilizer deficiency.
Before adding fertilizer, look at light, watering, drainage, roots, and the overall condition of the plant.
How to Propagate Spider Plant Babies
One of the best things about spider plants is how easily many mature plants produce offsets or plantlets.
These baby plants develop along long stems and can eventually become new plants. Spider plants can also be propagated through division.
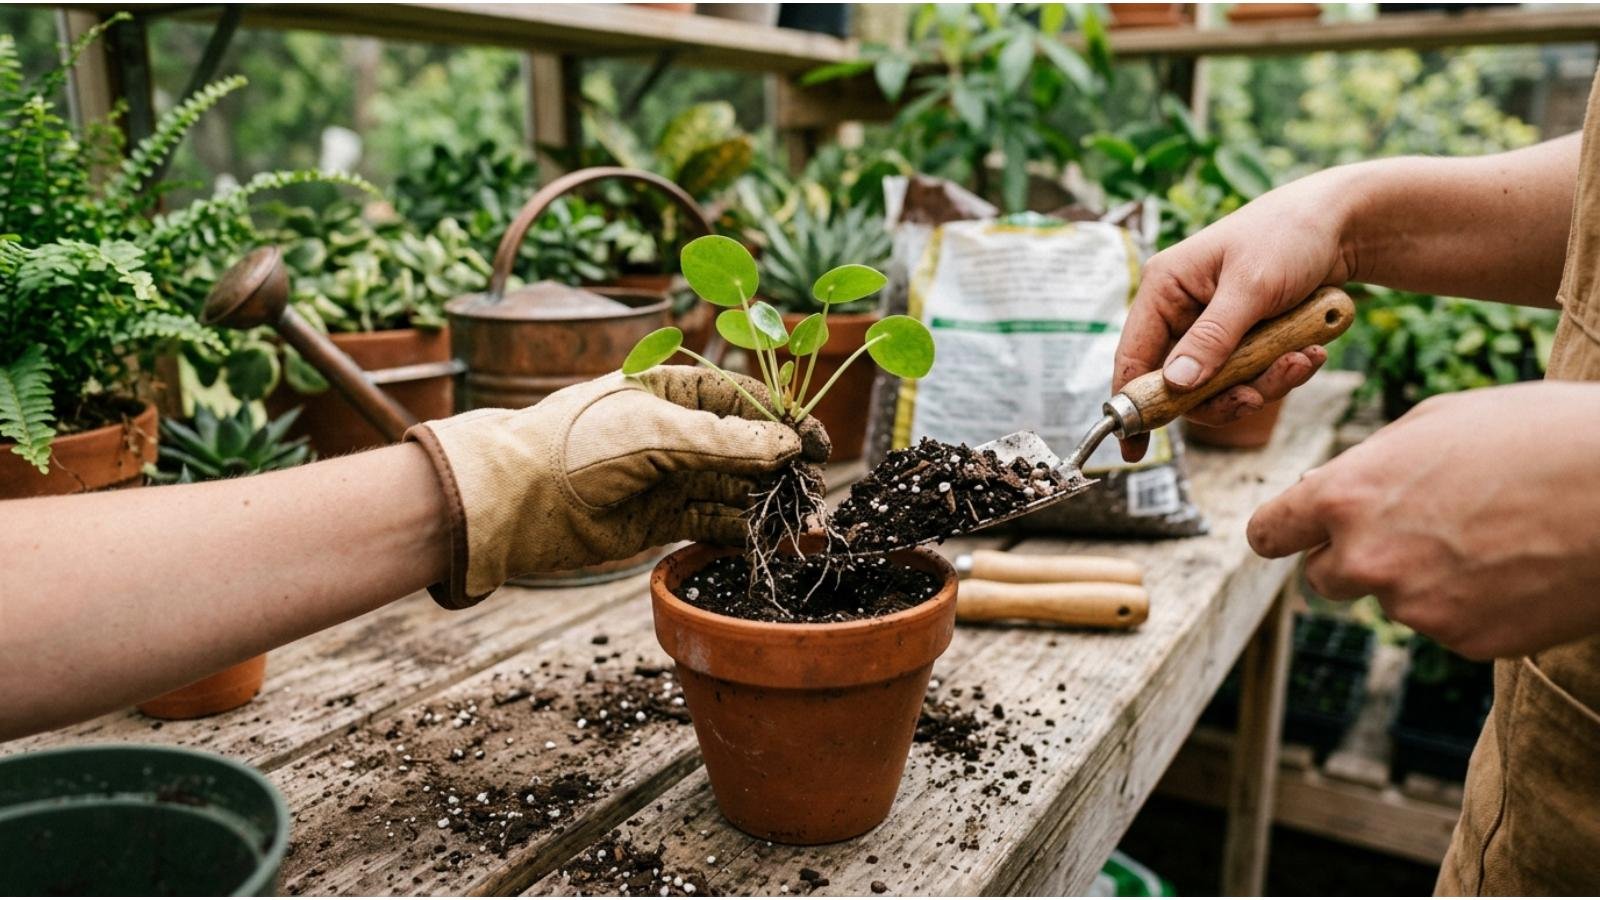
Method 1: Potting a rooted plantlet
This is usually the easiest approach when the baby already has roots.
- Select a healthy plantlet.
- Prepare a small container with drainage holes.
- Fill it with a suitable well-draining potting mix.
- Place the rooted plantlet into the soil.
- Water appropriately.
- Keep it in bright, indirect light while it establishes.
Method 2: Propagating while attached
If the baby is still connected to the parent plant, you can position a small pot of soil beneath it and allow the plantlet to establish roots before separating it.
This has a practical advantage: the young plant remains connected to the established parent while developing.
Method 3: Division
A large mature plant can be divided into smaller sections during repotting.
Division is particularly useful when the original plant has become crowded and you want to create several established plants rather than waiting for tiny offsets to grow.
Important: Not every spider plant produces babies immediately. Young plants may take time to mature, and growing conditions can affect flowering and plantlet production.
Image Suggestion: Step-by-step propagation infographic showing a spider plant baby developing roots, being separated, and planted into a small pot.
How to Encourage More Spider Plant Babies
If your spider plant looks healthy but refuses to produce offsets, don’t immediately assume something is wrong.
Plantlet production is influenced by maturity and growing conditions. The RHS notes that many spider plants do not flower or produce plantlets until they are at least about a year old, while inadequate light, cool conditions, and an excessively large pot can also discourage flowering. Some cultivars naturally do not produce offsets.
Focus on the fundamentals
Provide:
- Bright indirect light.
- Consistent but not excessive watering.
- Good drainage.
- Appropriate pot size.
- Healthy growing conditions.
- Patience.
A plant does not need to be stressed to reproduce.
In fact, trying to “force” babies by neglecting water or dramatically restricting resources is not a reliable care strategy.
One overlooked factor: cultivar
If your spider plant is a cultivar that does not normally produce plantlets, changing your watering routine will not magically turn it into a baby-producing plant.
Check the plant’s identity before assuming the care routine is the problem.
Feeding and Fertilizing Spider Plants
Spider plants generally do not require heavy feeding.
If you regularly repot using fresh potting mix, additional fertilizer may be unnecessary. The RHS suggests that feeding can be useful during active growth when other explanations for poor growth have been ruled out.
A sensible approach
Use a balanced houseplant fertilizer according to the product’s label rather than applying concentrated fertilizer more frequently in an attempt to speed up growth.
More fertilizer does not automatically mean more growth.
Excessive feeding can create additional problems, especially when the plant is already stressed by poor watering or root conditions.
Better strategy: Fix light, watering, drainage, and pot size first. Treat fertilizer as a supplement—not a rescue treatment.
Seasonal Spider Plant Care
Spider plant care should change slightly as indoor conditions change.
Spring
Increasing daylight can stimulate new growth.
This is a good period to:
- Check whether the plant needs repotting.
- Remove damaged foliage.
- Begin or resume light feeding if appropriate.
- Propagate healthy plantlets.
Summer
Strong sunlight through windows can become surprisingly intense.
Watch for leaf scorch, particularly if the plant is near a south- or west-facing window. Bright indirect light remains preferable to harsh direct sun.
Plants may also use water faster during warm, bright periods, so check the soil more frequently.
Fall
Growth may begin slowing.
Don’t automatically continue the same watering frequency used during summer.
Instead, let the plant’s soil and growing conditions determine when it needs water.
Winter
Indoor heating can make the environment drier, while shorter days reduce light and growth.
The RHS recommends watering somewhat less frequently during winter as growth slows.
Keep the plant away from severe cold and avoid placing it directly beside a heat source.
Spider Plant Pests and Problems
Spider plants are generally tough, but no houseplant is completely immune to pests.
The RHS identifies scale insects as a potential pest of Chlorophytum comosum, while some spider plant cultivars are also listed as susceptible to aphids.
What to check
Inspect:
- Leaf undersides.
- Leaf bases.
- New growth.
- Stems.
- Areas where leaves meet the crown.
Early detection is much easier to manage than a severe infestation.
If you bring home a new houseplant, keeping it separate from an established collection for a period of observation can also reduce the chance of immediately spreading an unnoticed pest problem.
Avoid unnecessary chemical treatment
Don’t spray a healthy plant “just in case.”
Identify the problem first, then choose an appropriate treatment.
Common Spider Plant Care Mistakes
Even easy-care plants can suffer when basic assumptions go wrong.
Mistake 1: Watering on a fixed calendar
Every home’s temperature, light, humidity, and potting mix are different.
Better: Check the soil before watering.
Mistake 2: Putting the plant in harsh sunlight
More light isn’t always better.
Better: Choose bright, indirect light.
Mistake 3: Using a pot with no drainage
Excess water needs an escape route.
Better: Use a container with drainage holes.
Mistake 4: Treating every brown tip with fertilizer
Brown tips can have several causes, including water quality, watering problems, dry air, and excessive sunlight.
Better: Diagnose the environment first.
Mistake 5: Repotting into an enormous container
A much larger pot can hold moisture for longer than the plant’s roots can use.
Better: Increase pot size gradually when the plant actually needs it.
Mistake 6: Expecting babies from every cultivar
Some spider plant types are less likely—or not expected—to produce offsets.
Better: Identify the cultivar and give the plant time to mature.
A Simple Spider Plant Troubleshooting Chart
| Symptom | Possible cause | What to check first |
|---|---|---|
| Brown leaf tips | Watering, dry air, sunlight, water quality | Soil moisture and location |
| Yellow leaves | Low light, watering problems, aging foliage | Light and soil |
| Slow growth | Low light or crowded roots | Location and roots |
| Scorched leaves | Too much direct sun | Window exposure |
| Constantly wet soil | Poor drainage or excessive watering | Pot and watering routine |
| Few or no babies | Young plant, low light, cultivar, pot conditions | Plant age, light, cultivar |
| Drooping foliage | Water stress or root problems | Soil moisture and roots |
| Visible scale | Pest infestation | Leaf undersides and stems |
The important point is that symptoms overlap. A brown leaf tip alone does not provide enough information to identify the exact cause.
Look at the whole pattern: soil moisture, light, root condition, recent changes, and the plant’s growth.
When Should You Repot a Spider Plant?
Repotting is useful when the plant has outgrown its container or the growing medium needs refreshing.
Signs that repotting may be appropriate include:
- Roots densely filling the container.
- Noticeably slowed growth.
- The plant drying out unusually quickly.
- Roots emerging through drainage holes.
- The plant becoming severely crowded.
- The potting mix breaking down or draining poorly.
The RHS recommends repotting and dividing spider plants roughly every two to three years, although the exact timing depends on the plant and its growing conditions.
How to repot
- Select a container only modestly larger than the existing one.
- Make sure it has drainage holes.
- Prepare fresh, well-draining potting mix.
- Gently remove the plant.
- Examine the roots.
- Loosen severely congested roots if necessary.
- Position the plant at approximately the same depth.
- Fill around the roots with fresh mix.
- Water appropriately and allow excess water to drain.
Repotting should improve the plant’s growing environment—not simply give it a larger container.
How to Make a Spider Plant Look Fuller
If your plant has long leaves but looks sparse, don’t immediately chop everything back.
First ask why the growth is sparse.
Insufficient light can reduce vigor, while a crowded or aging plant may benefit from division and repotting. Spider plants naturally produce arching foliage, so some trailing is part of their normal appearance.
To create a fuller display
- Give it bright indirect light.
- Rotate the container occasionally so growth is not concentrated toward one direction.
- Remove badly damaged leaves.
- Repot when genuinely root-bound.
- Divide an overcrowded plant.
- Allow healthy plantlets to develop for a cascading effect.
A hanging basket can also make a healthy spider plant appear substantially fuller because its natural trailing habit becomes part of the display.
Image Suggestion: Before-and-after image showing a sparse spider plant improved through better positioning, pruning, and healthy new growth.
Advanced Spider Plant Care: Reading the Plant Instead of Following a Schedule
Once you’ve grown spider plants for a while, the most useful skill is not memorizing a watering timetable. It is learning to interpret changes.
For example, imagine a spider plant near a bright window.
During summer, the room becomes warmer and brighter. The soil dries faster, so the plant may need water more frequently.
Move that same plant into a dimmer room in winter, and its water use may fall.
The calendar has changed—but more importantly, the plant’s growing environment has changed.
This is why experienced houseplant growers tend to adjust care based on conditions rather than following instructions such as “water every Sunday.”
The diagnostic hierarchy
When something looks wrong, work through these questions:
Light → Water → Drainage → Roots → Pests → Nutrients
Start with the fundamentals before reaching for fertilizer or complicated treatments.
This approach prevents a common houseplant-care mistake: trying to fix one problem while the actual cause remains untouched.
Frequently Asked Questions About Spider Plant Care
How much sunlight does a spider plant need?
Spider plants generally prefer bright, indirect or filtered light. They tolerate lower light, but growth can slow and variegation may become less pronounced. Strong direct sunlight can scorch the leaves.
How often should I water a spider plant?
There is no universal schedule. Check the soil and water when the upper portion has begun to dry rather than watering automatically on a fixed day. Avoid leaving the plant sitting in excess water.
Why are the tips of my spider plant turning brown?
Brown tips can result from several factors, including inconsistent watering, dry air, strong sunlight, and water-quality issues. The RHS specifically notes that fluoride in tap water can contribute to browning.
Can spider plants grow in low light?
Yes. Spider plants are tolerant of relatively low indoor light, although they generally grow better in brighter indirect light. Low light can also reduce variegation and slow growth.
Do spider plants like direct sunlight?
They can tolerate some gentle light, but strong direct sunlight—especially intense summer sun—can scorch their foliage. Bright indirect light is a safer general choice.
Why isn’t my spider plant producing babies?
Young plants may simply not be mature enough. Insufficient light, cool conditions, an overly large pot, and cultivar differences can also affect plantlet production.
Should I cut the brown tips off my spider plant?
You can trim brown tips for cosmetic reasons. However, trimming does not solve the underlying cause, so investigate watering, light, humidity, drainage, and water quality if browning continues.
Do spider plants need fertilizer?
Not necessarily. Regular repotting with fresh potting mix may provide sufficient nutrients. If growth remains poor after environmental issues have been addressed, a balanced houseplant fertilizer can be used during active growth according to its label.
How do I propagate a spider plant?
Spider plants can be propagated by rooting plantlets, division, or seed. Rooted plantlets are generally the easiest method for home growers.
How often should I repot a spider plant?
A common guideline is every two to three years, but the plant itself should determine the timing. Severely crowded roots, slowed growth, or deteriorating potting mix are stronger reasons to repot than the calendar alone.
Are spider plants difficult to care for?
No. Spider plants are considered relatively easy houseplants because they tolerate a broad range of indoor conditions. Their main care requirements are appropriate light, sensible watering, and good drainage.
Final Takeaways for Healthy Spider Plant Care
Successful spider plant care comes down to understanding balance rather than following a complicated routine.
Give your plant bright indirect light, use a well-draining potting mix, and water according to the condition of the soil instead of a fixed calendar. Make sure excess water can escape, protect foliage from harsh direct sunlight, and repot when the roots become genuinely crowded.
When something goes wrong, resist the temptation to immediately add fertilizer or dramatically change everything. Brown tips, yellow leaves, slow growth, and missing plantlets can have different causes. Look at the plant’s environment as a whole.
Once you learn to read those signals, Chlorophytum comosum becomes exactly what experienced growers appreciate about it: an adaptable, attractive houseplant that rewards consistent care without demanding constant attention. And when healthy plantlets begin cascading from the mother plant, you get one of the best bonuses a houseplant can offer—new plants to grow, share, and enjoy.